Friday, November 4, 2011

Mind Jars: Success!!

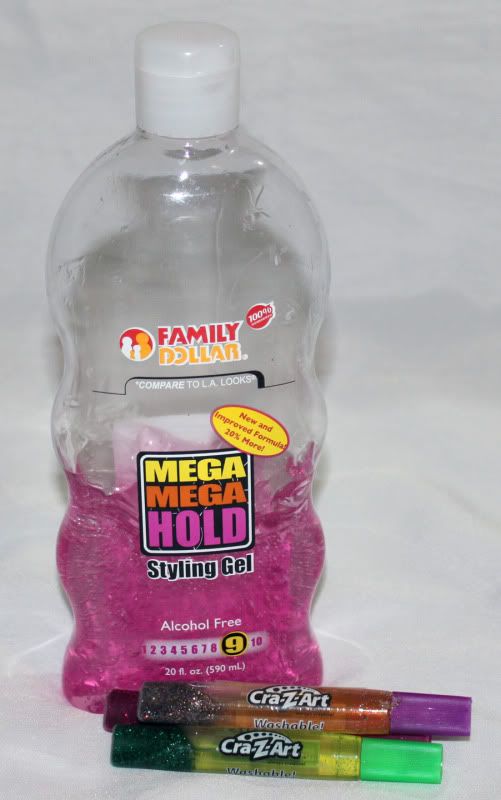
I did a bit of further research on the glitter being suspended in water topic and the only thing I came across that I had not tried the other day was using cheap hair gel with the glitter glue.  So I went to the nearest Family Dollar and bought "Cra-Z-Art" Glitter Glue Sticks and Family Dollar brand "Mega Mega Hold" styling gel.  My total investment today was $3.

Here's what I came up with:


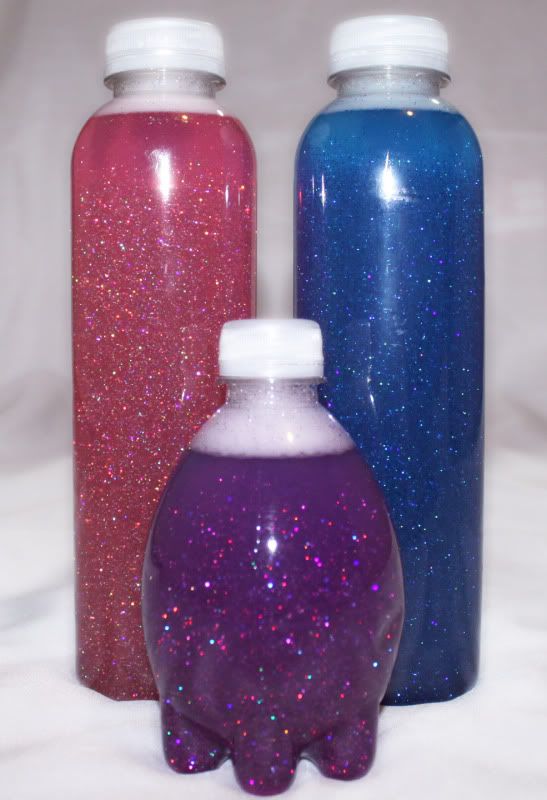
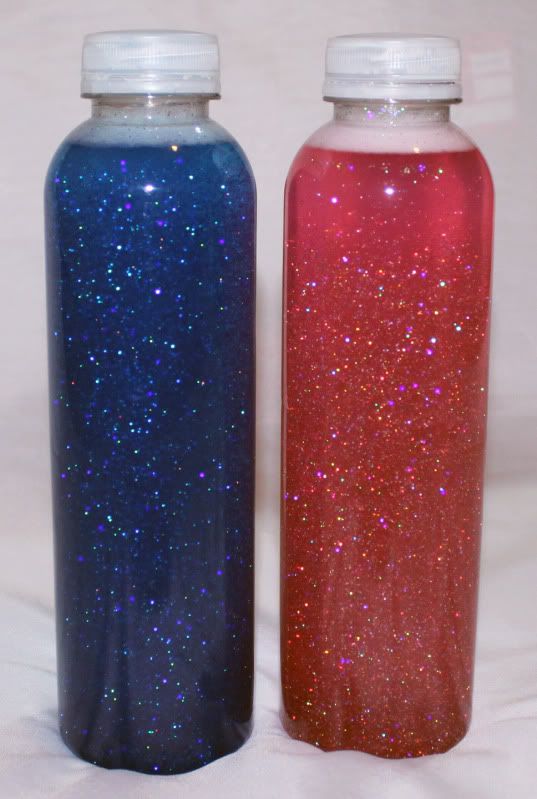
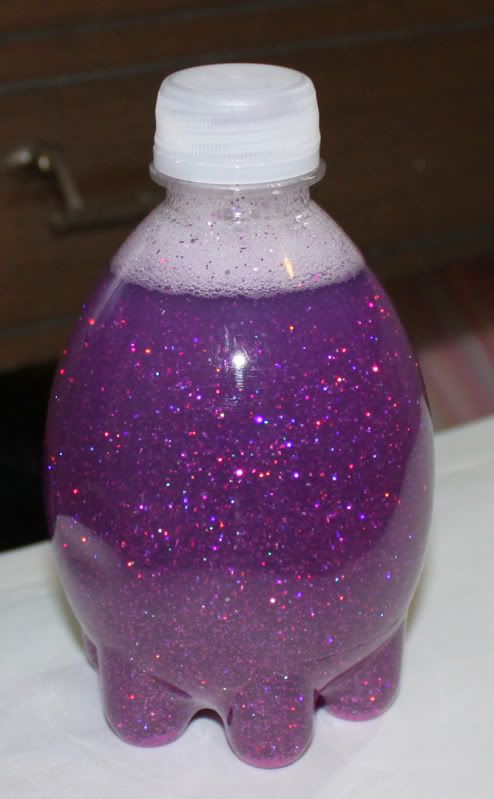
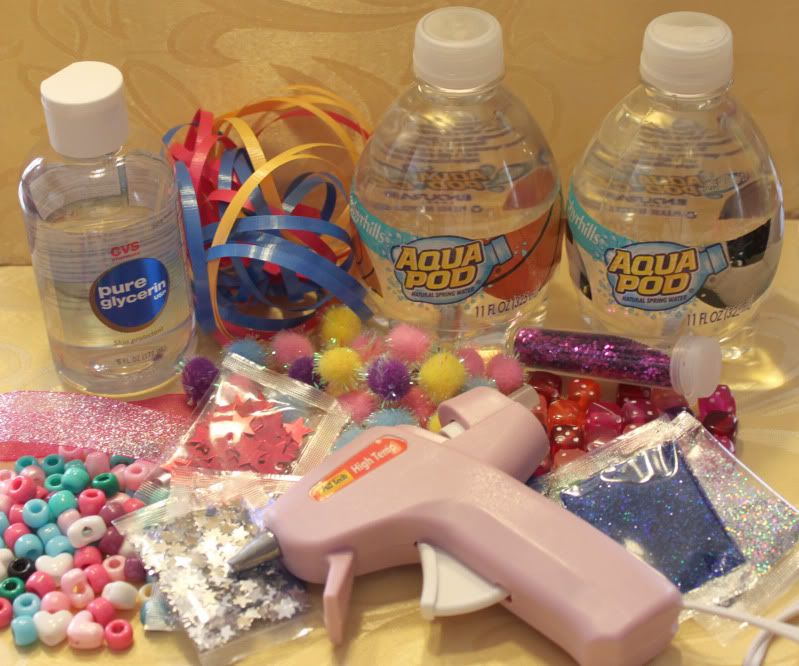
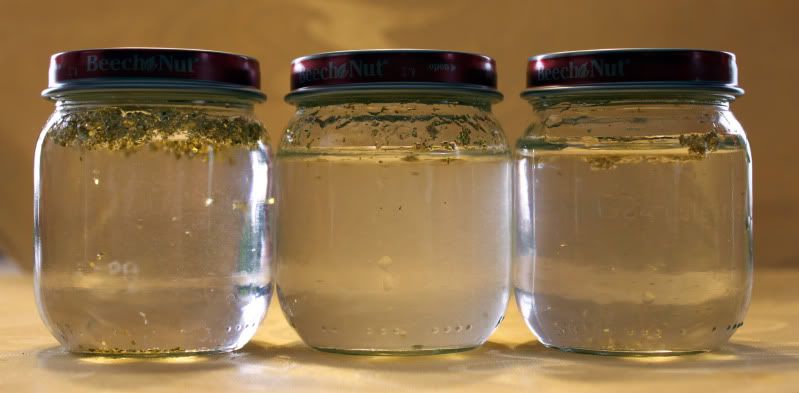
I feel entirely satisfied with the results!  The glitter doesn't get clumped at the top, nor does it sink to the  bottom within 15 seconds.  It did take some trial and error though.  These were my supplies:


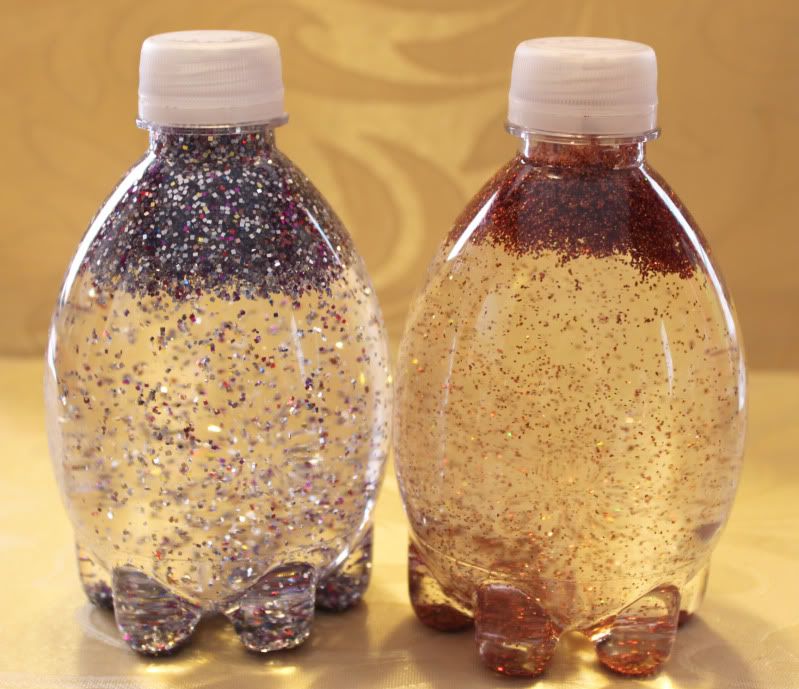
That is a 20 oz. bottle of hair gel and I used more than half of it today for just these 3 jars.  The two taller Mind Jar bottles are 20 oz. each and the smaller one is 12 oz. so there is quite a lot of gel in each one.

For the entire project you will need:
  • Empty jars or bottles (I chose plastic, in case one gets dropped... or thrown)
  • Cheap Hair Gel
  • Glitter Glue - 1 tube per bottle
  • Loose Glitter (the smaller, fine glitter worked best for me)
  • Food Dye
  • Pyrex Measuring Cup for mixing (or any mixing bowl)
  • Spoon
  • Hot Glue Gun (if you plan to secure the lid to the bottle, which I'd recommend if you plan to have children handling the jars)
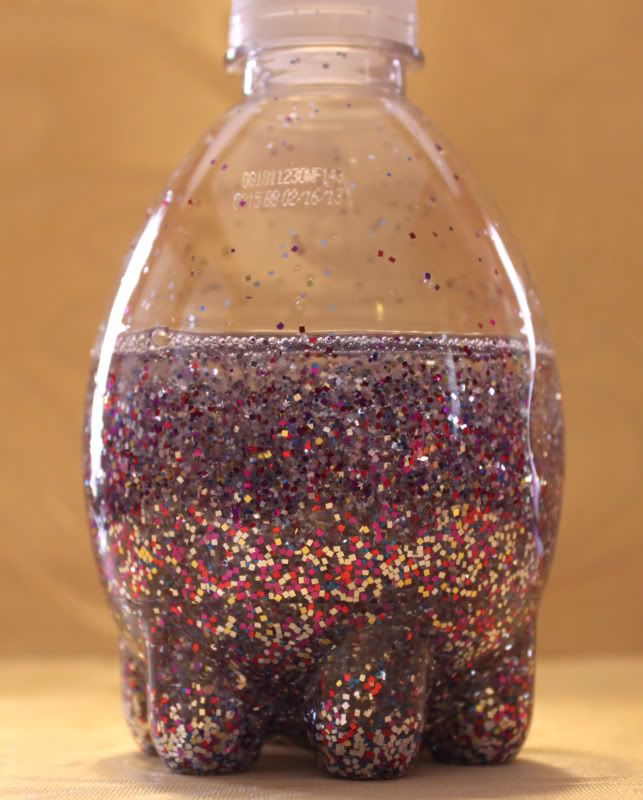
I started with a 2 cup Pyrex measuring cup and filled to the 1 c. line with very hot tap water.  I added one full tube of the glitter glue and stirred until dissolved.  I then added 1/2 c. of the hair gel and stirred that until it was dissolved.  Then I added additional glitter -- I used fine glitter rather than course... approximately 1/2 tbs.  I stirred that in and then sifted off additional bubbles and found that some of the glitter had gotten clumpy on the top so I smashed the clumps with my fingers and just kept stirring.  Eventually I realized that at least some of the glitter had defeated me and I just scooped the remaining clumps off the top with the spoon and dumped what I had left into the bottle.  

At that point there were a few inches of space at the top of the bottle and, in my opinion, the glitter was still not staying suspended long enough after a good shake, so I filled the remaining portion of the bottle with half warm water and half hair gel; in total, I estimate I used between 8-10 oz of hair gel in each jar!  

I gave it a few good shakes and watched as the glitter slowly swirled around and eventually settled to the bottom.  Success!!  I also added 1 drop of food dye to each bottle once I was pleased with the consistency.

I noticed that as the water in the bottles cooled, the glitter remained suspended for longer durations.  It takes less than 10 minutes for the glitter to settle so I think it's going to be a helpful tool in lieu of "time out" for my nephew.  He'll be able to shake the bottle and relax for a few minutes... while both he and the glitter settle down.

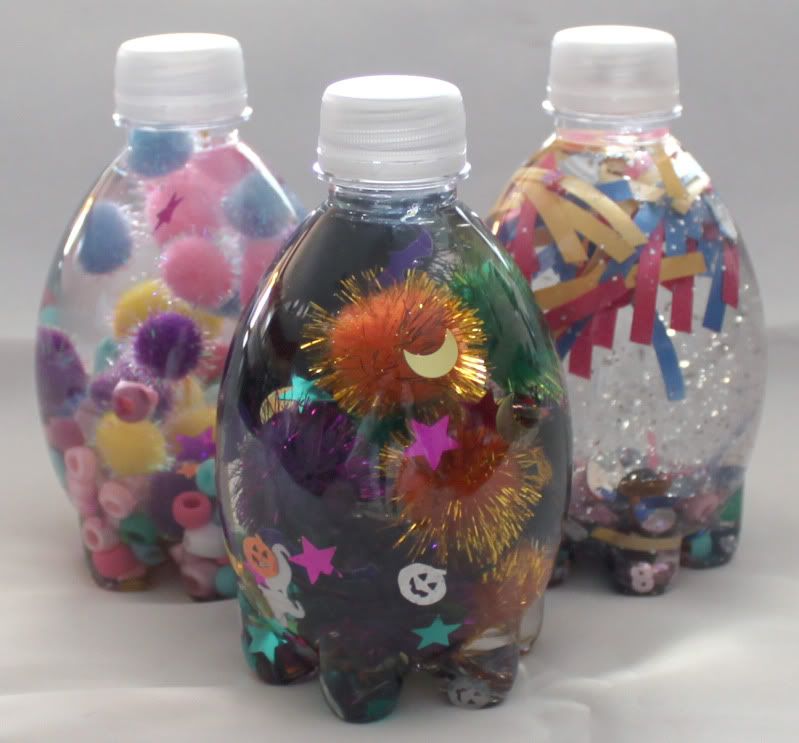
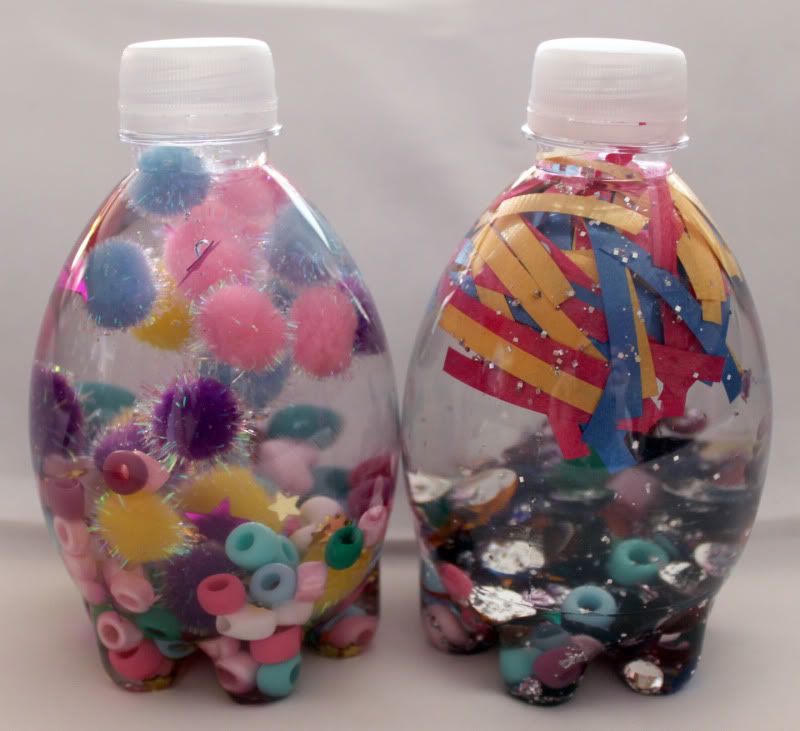
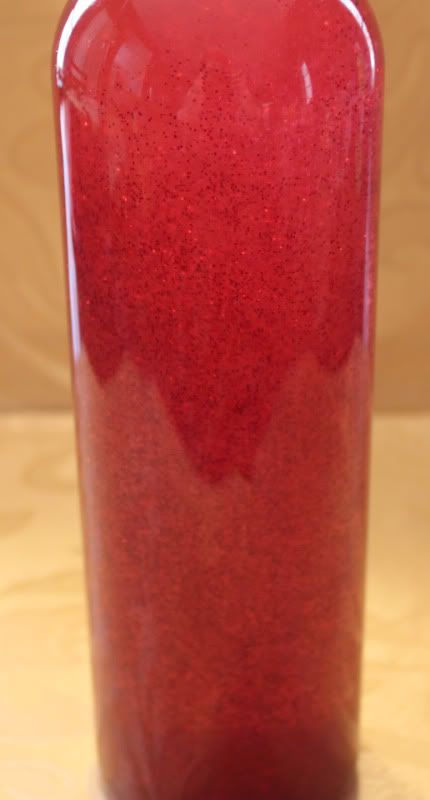
Here are a few more pictures:


If *I* can make these, anyone can ;)

Thursday, November 3, 2011

Corlorful Visual Discovery Jars

After I'd abandoned my quest to get glitter to successfully remain suspended in water; I decided to try an idea I found on Pinterest.  It looked easy enough -- then again so did the glitter crap, and we can see where that went!  So I thought before I deemed the project easy, I better try it out myself.

Here are my discovery jars:


They actually turned out really well and they were super easy for me to make!


Here are some of the supplies I used:


  • Plastic Water Bottles (I got the Aqua Pods for Kids)
  • Various colors of curling ribbon
  • Glitter, sequins, and metallic confetti
  • Plastic beads and dice beads
  • Craft fluffs
  • Hot glue gun
You can probably use quite a few things laying around your house if you raid your crafting supplies: buttons, paper clips, small stones, beads, etc.  I went ahead and put a few drops of glycerin in my bottles but I have serious doubts as to whether it helped thicken the water and keep glitter and sequins floating longer.

All that you do is leave about half the water in the plastic bottles and then load them up with whatever visually stimulating objects you've gathered.  I found that less was not more -- the more the better, in fact.  Fill the bottle the rest of the way up with water and then use the hot glue gun to secure the lid to the bottle.  I used filtered water in mine.  My 7 month old daughter approves of her new discovery jars!

Suspending Glitter in Water: FAIL!

In my efforts to find a way to get glitter to successfully stay suspended in water without immediately sinking to the bottom, I wasted approximately $17 and found quite a number of methods that simply do not work.  This doesn't mean I'm giving up though... I'm dying to make a "mind bottle" for my nephew.  A bottle of tinted water with glitter that he can shake up and look at if he needs a time-out.  He's nearly 5 years old now and he's hit a defiant stage, but that's another story all together.  

What I'd like is to have a creative way to work him through a time-out since he currently just fights it the entire time.  I think it might help to have him shake up a glitter bottle and watch the glitter settle as his mood calms (like the glitter.... get it?).  However, so far all that I have managed to do is get the glitter to sink right away -- and I mean within maybe 30 seconds max -- or it floats to the surface in blobs.  Let's take a look at my experiments:

First I tried Light Karo Syrup.  I experimented with both coarse and fine glitter and using both small and large amounts of Karo Syrup.  It was just a mess.  Basically the Karo Syrup caused the vast majority of glitter to float.  I shook the bottles and snapped a picture as quickly as I could and within 30 seconds there was no glitter suspended in the water:


I then tried straight mineral oil (baby oil)... what a mess.  The glitter stayed suspended indefinitely and tons of it just stuck to the bottle.


I found another blog whose author posted a picture that appeared she'd had success by using glitter glue AND loose glitter, but the glitter sunk inside of 1 minute and the water was murky because of the glue.


I did further research and decided to try salt water which is supposed to do something with the viscosity of the water and work with natural gravitational forces to magically suspend objects in water -- like a person floating in the ocean, ya know?  FAIL.  I tried 100% glycerin added to the water as well... a few drops up to 1/4 of the bottle.  FAIL.  I put glitter in plain tap water.  FAIL.  I tried Elmer's School Glue to thicken the water.  FAIL.


I didn't photograph all efforts... just most.  Above, from left to right, we have a few drops of glycerin, a few drops of baby oil, and plain water.  

What a waste of time and supplies, LOL -- I'm not done with this.  I will find some way to get glitter to stay suspended in water.  Any and all suggestions are welcome and I'll experiment with as much as I can... I'm done researching for the day though, because I came across a site that said success could be found with Cationic Surfactant Systems Comprising Microfibrous Cellulose and that just blew my mind.

Pregnant Belly Cast

Behold.... my pregnant belly!  This was Valentine's Day 2011 -- I was 35 1/2 weeks pregnant.  And who would want to forget just how full their belly got with child?  Well.... maybe some would rather forget, lol -- but we'd tried to conceive for nearly 4 years and wanted to capture every memory.

 So for Valentine's Day we celebrated by making a belly cast!  We bought a kit for $20 and I had priced out the supplies individually and there wasn't much of a savings, but a kit is not necessary if you're unable to find one at a reasonable price.  The kit came with: 5 rolls of plaster tape, non latex gloves, a drop cloth, and belly lubricant which was just Vaseline petroleum jelly.

I got myself as comfortable as possible as a woman can be at 35 1/2 week pregnant in a dumpy aluminum folding chair with no shirt covered in Vaseline.  My husband prepared the materials: a large bowl of warm water, scissors, gloves, etc. and got to work.  He pre-cut the tape into long strips at first and started at the bottom of my belly applying strips horizontally up to my breasts; then he cut shorter strips and criss crossed them over and under my breasts with a few extra at the crease of where the bottom of my breasts met the top of my belly.  He had to rub in the plaster as he went along to smooth out the tape.  Once he had the first layer on he started with the second.  Before he was completely done with that layer it had started to harden and turn into a shell which began to come off of me.  

He hurried to finish the second layer and we carefully removed it and just set it on the kitchen table overnight to dry.  The next day I added 2 more layers to the shell and smoothed it out.  Once dry, I started sanding down the rough spots and it took a lot more than the flimsy sanding screen provided in the kit.  I just used a fine grit sanding block from Home Depot.

This is how the cast looked after it was complete and sanded:


That cast sat for MONTHS in this stage!  I just didn't know what to do with it.  I finally started trying to get creative and sponge paint it with a pastel color blend... by the time I'd done that it looked terrible.  I then tried to freehand my daughter's name on the center and it looked even worse!  Again I abandoned the project.  I finally decided that I would not allow her to turn 6 months old without a completed belly cast -- and I still had the big, empty space on the wall of her nursery.  

I sprayed the cast with white primer and decided to stay inside my realm of capabilities this time.  I picked a sunny yellow for the base color since her nursery includes many pastel shades and I hadn't done any of the picture frames in yellow yet.  I used stickers for her name, and I painted some basic pastel swirls all over with one glitter sticker at the bottom that said "Believe".  I added a marabou border because the edges were pretty dodgy and I needed to cover that up somehow.  I added some butterflies and silk flowers and then drilled small holes at each top corner for hanging.  I just used several strands of thin, pastel ribbons that I had on hand to hang it with.

Overall I am super pleased with how it turned out.  I have seen some that are much more elaborate, but I needed to stay with something more basic and if I can make this.... anyone can:


For reference, this was the kit we used: Pearhead Belly Cast Kit

Wednesday, November 2, 2011

Creating my new blog

So, my blog is going to be all about how wonderfully crafty I can be.  Yet, I'm already having challenges trying to come up with a pleasant, aesthetically pleasing layout.  I've got to start somewhere with my creativity... so I'm writing *something* here so that as I edit I can at least see what its going to look like.  I just want it all pink.  Why can't it all just be pink?