
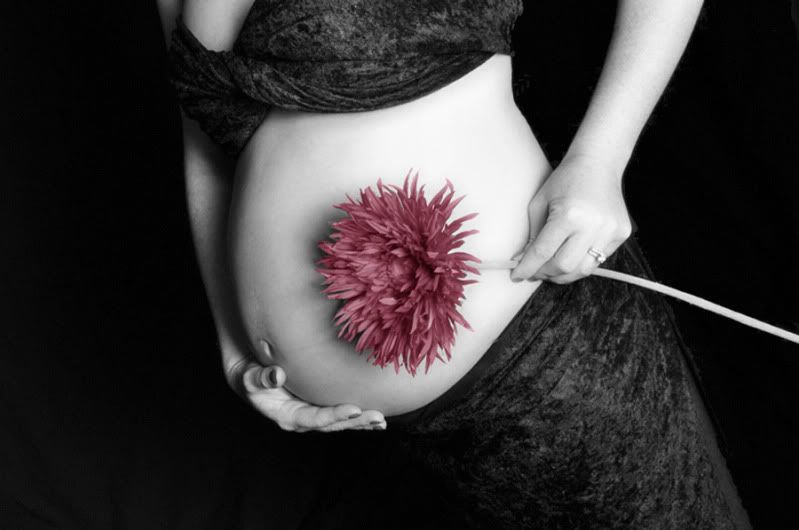
Behold.... my pregnant belly! This was Valentine's Day 2011 -- I was 35 1/2 weeks pregnant. And who would want to forget just how full their belly got with child? Well.... maybe some would rather forget, lol -- but we'd tried to conceive for nearly 4 years and wanted to capture every memory.
So for Valentine's Day we celebrated by making a belly cast! We bought a kit for $20 and I had priced out the supplies individually and there wasn't much of a savings, but a kit is not necessary if you're unable to find one at a reasonable price. The kit came with: 5 rolls of plaster tape, non latex gloves, a drop cloth, and belly lubricant which was just Vaseline petroleum jelly.
I got myself as comfortable as possible as a woman can be at 35 1/2 week pregnant in a dumpy aluminum folding chair with no shirt covered in Vaseline. My husband prepared the materials: a large bowl of warm water, scissors, gloves, etc. and got to work. He pre-cut the tape into long strips at first and started at the bottom of my belly applying strips horizontally up to my breasts; then he cut shorter strips and criss crossed them over and under my breasts with a few extra at the crease of where the bottom of my breasts met the top of my belly. He had to rub in the plaster as he went along to smooth out the tape. Once he had the first layer on he started with the second. Before he was completely done with that layer it had started to harden and turn into a shell which began to come off of me.
He hurried to finish the second layer and we carefully removed it and just set it on the kitchen table overnight to dry. The next day I added 2 more layers to the shell and smoothed it out. Once dry, I started sanding down the rough spots and it took a lot more than the flimsy sanding screen provided in the kit. I just used a fine grit sanding block from Home Depot.
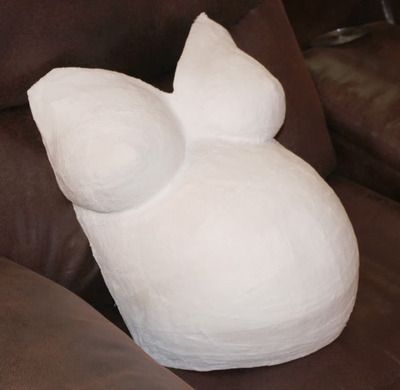
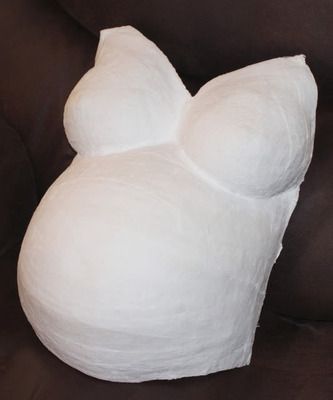
This is how the cast looked after it was complete and sanded:
That cast sat for MONTHS in this stage! I just didn't know what to do with it. I finally started trying to get creative and sponge paint it with a pastel color blend... by the time I'd done that it looked terrible. I then tried to freehand my daughter's name on the center and it looked even worse! Again I abandoned the project. I finally decided that I would not allow her to turn 6 months old without a completed belly cast -- and I still had the big, empty space on the wall of her nursery.
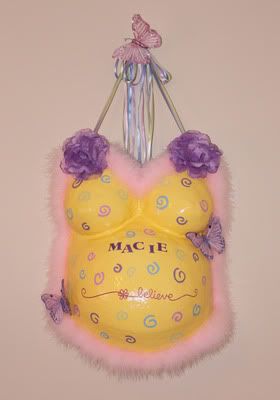
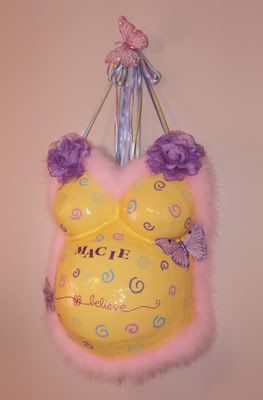
I sprayed the cast with white primer and decided to stay inside my realm of capabilities this time. I picked a sunny yellow for the base color since her nursery includes many pastel shades and I hadn't done any of the picture frames in yellow yet. I used stickers for her name, and I painted some basic pastel swirls all over with one glitter sticker at the bottom that said "Believe". I added a marabou border because the edges were pretty dodgy and I needed to cover that up somehow. I added some butterflies and silk flowers and then drilled small holes at each top corner for hanging. I just used several strands of thin, pastel ribbons that I had on hand to hang it with.
Overall I am super pleased with how it turned out. I have seen some that are much more elaborate, but I needed to stay with something more basic and if I can make this.... anyone can:
For reference, this was the kit we used: Pearhead Belly Cast Kit
Bonuses, free spins and casinos | No deposit bonuses for slots
ReplyDeleteBonuses, 토토커뮤니티 free spins and casinos We have listed the best casino 1xbet 우회 sites for bonuses and free 승인 전화 없는 토토 꽁 머니 spins for 식보 playing slots games 라이트닝 바카라 with no deposit.